
Image Source: img.sunset02.com
How To Make Biscuits In A Dutch Oven: For Camping & Home
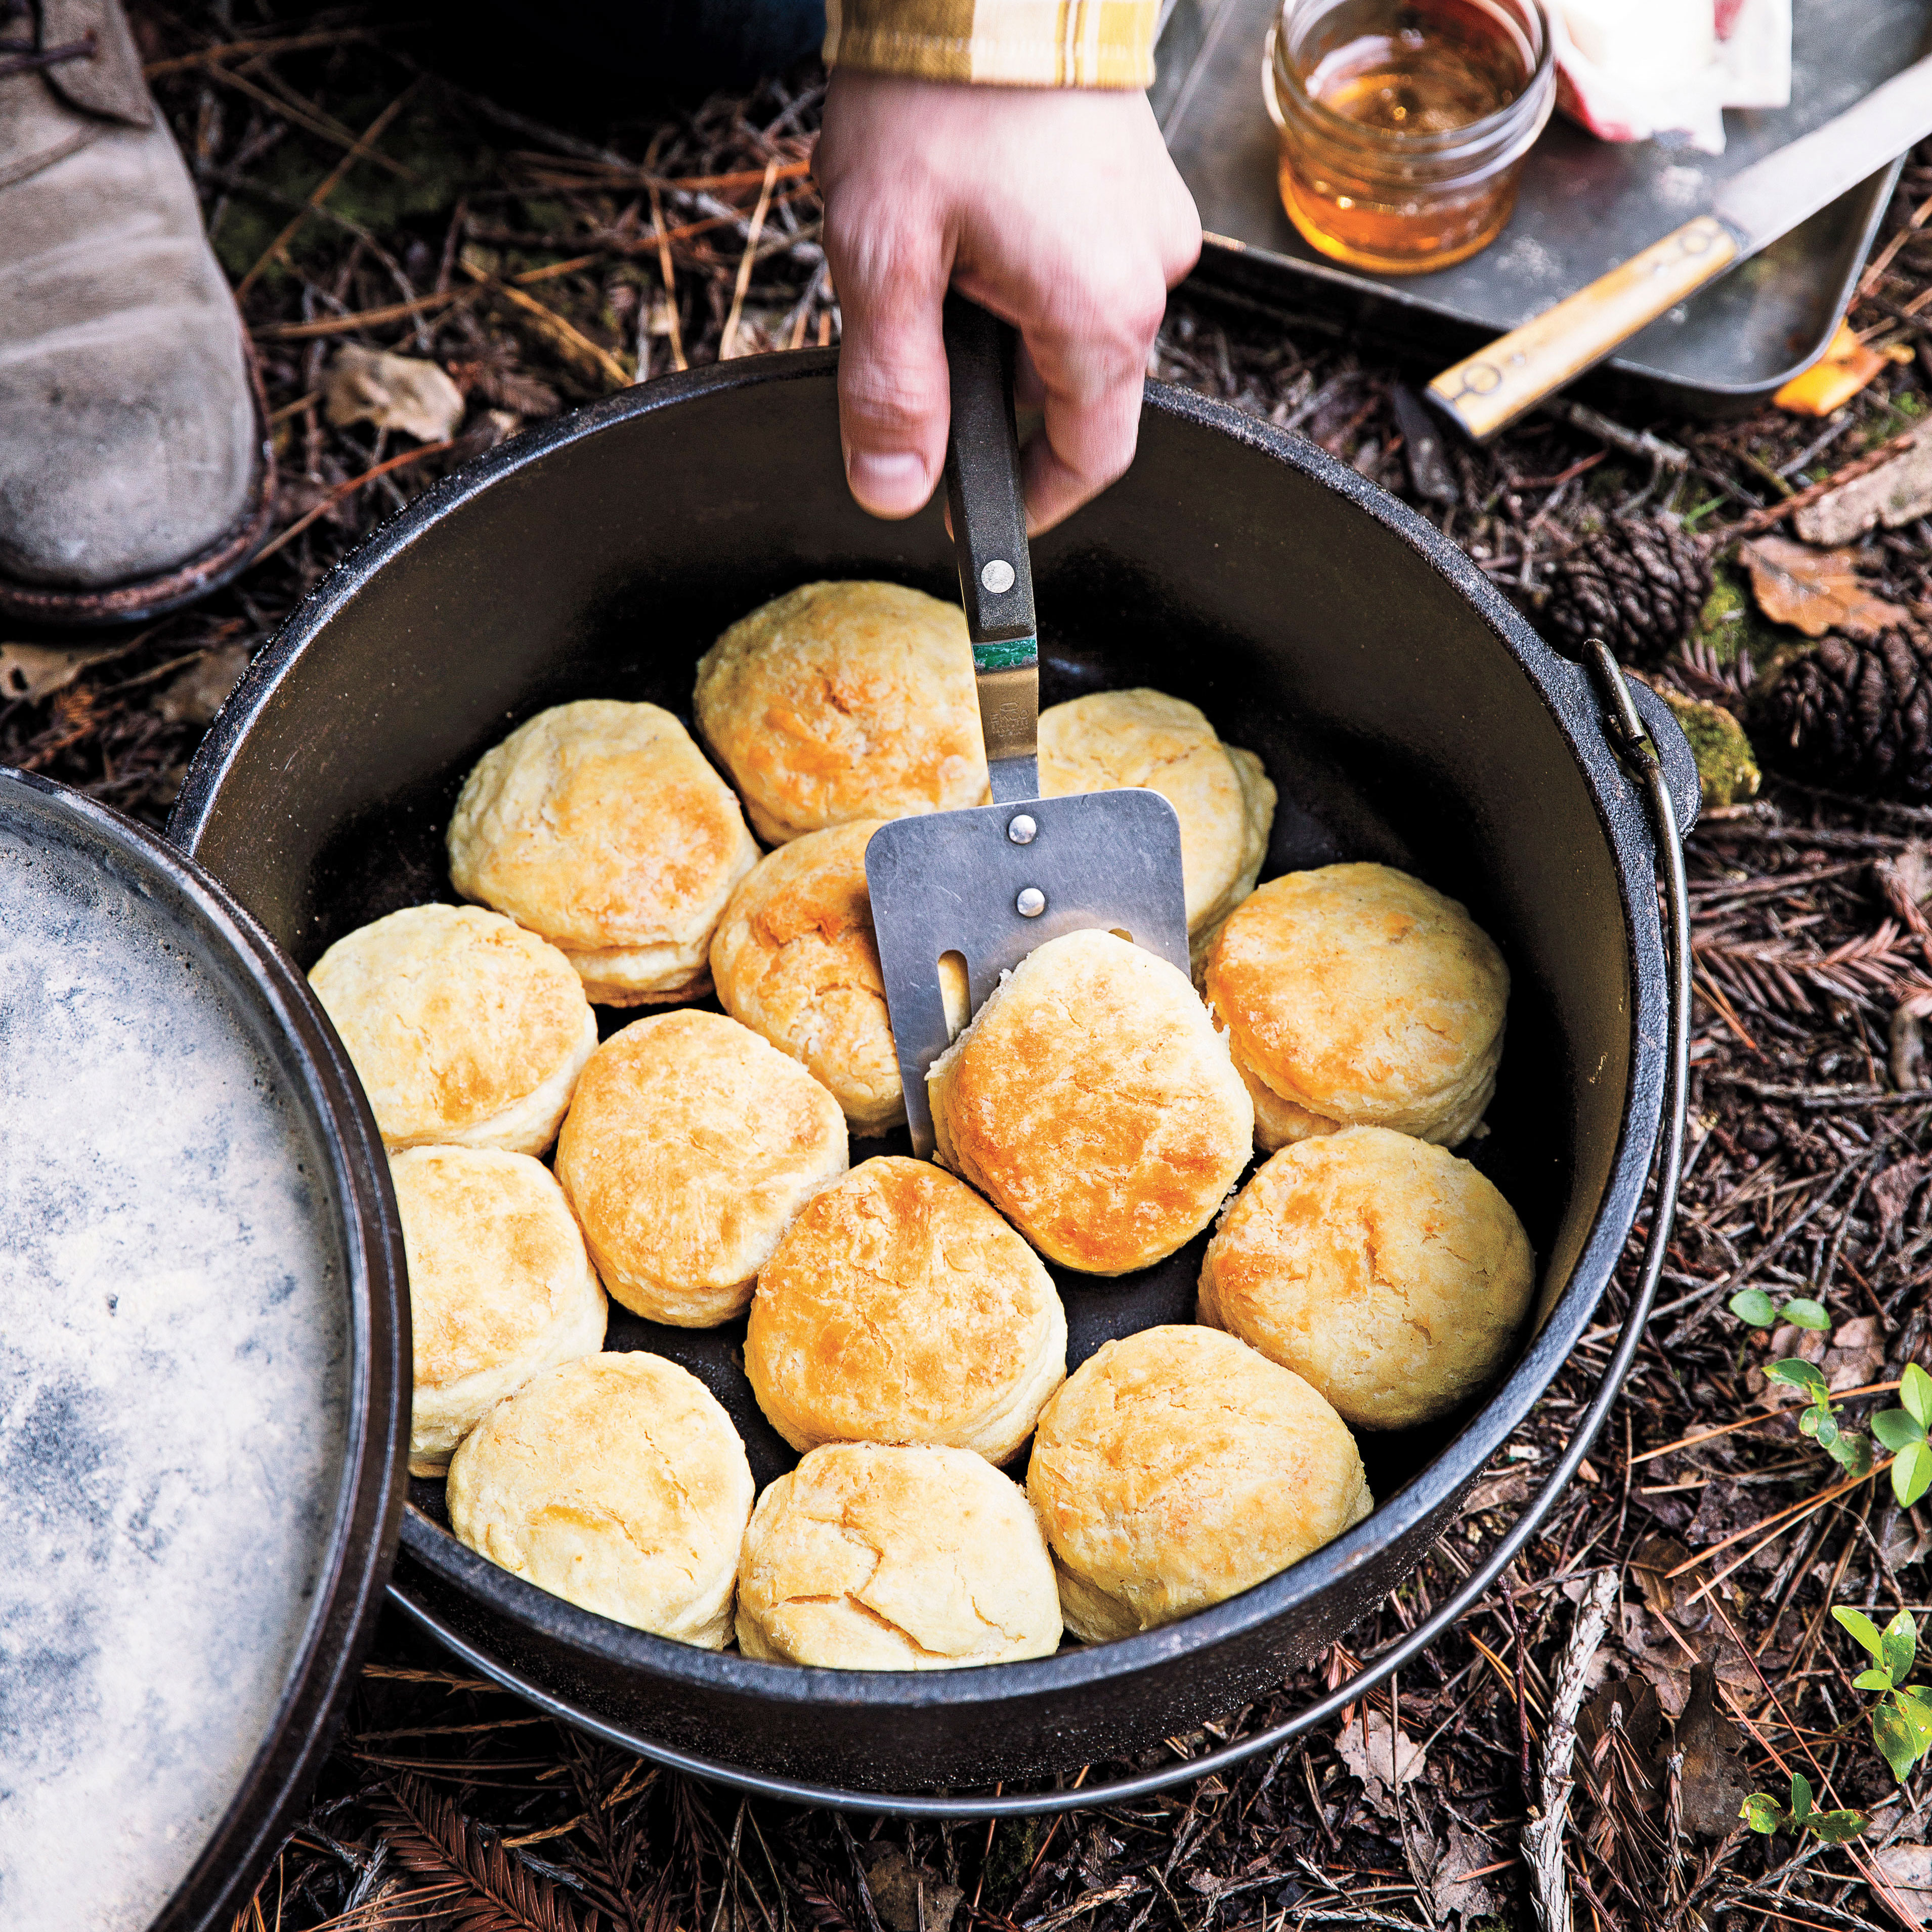
Yes, you can absolutely make delicious, fluffy biscuits in a Dutch oven, and it’s surprisingly simple whether you’re at home or cooking outdoors. Baking biscuits from scratch Dutch oven style creates a wonderful crust and tender inside, making it a favorite for both camp cooking biscuits and kitchen meals. This guide will show you exactly how to achieve perfect results using classic cast iron biscuit baking methods.
Grasping the Magic of Dutch Oven Biscuits
Making biscuits in a Dutch oven is a time-tested method that works beautifully because a cast iron Dutch oven acts like a small, portable oven. It holds and distributes heat evenly, creating the ideal environment for baking. Whether you use hot coals outside or your kitchen oven, the principle is the same: controlled, consistent heat bakes the dough to perfection.
Basic Ingredients for Great Biscuits
A simple Dutch oven biscuit recipe starts with just a few basic pantry staples. The quality of your ingredients matters, especially the fat and liquid.
Flour Power
Plain all-purpose flour is the standard. Some people prefer a soft wheat flour for tender biscuits, but any standard all-purpose will work well. Measure it correctly – fluff the flour in the bag, spoon it lightly into your measuring cup, and level off the top with a straight edge. Don’t pack it!
The Importance of Fat
Fat is key to flaky biscuits. The best fats to use are cold, solid fats that will create steam pockets as they melt in the oven.
- Cold Butter: Unsalted butter is most common. Keep it very cold, right from the fridge or even the freezer.
- Lard: Using lard biscuits Dutch oven style is a traditional method. Lard adds tenderness and a unique flavor. Like butter, it should be cold.
- Shortening: Vegetable shortening also works well and stays solid at room temperature longer than butter, making it good for camp cooking.
You can use one fat or a mix. Many recipes call for a combination of butter and lard or butter and shortening for the best texture and flavor.
The Role of Liquid
Liquid brings the dough together and activates the baking powder.
- Buttermilk: Buttermilk biscuits Dutch oven baked are a classic for a reason. The acidity in buttermilk reacts with baking powder, providing extra lift and tenderness. It also adds a slight tang.
- Milk: Whole milk can be used if you don’t have buttermilk. Add a teaspoon of vinegar or lemon juice to a cup of milk and let it sit for 5-10 minutes to make a quick substitute, though true buttermilk is preferred.
Make sure your liquid is cold. Just like the fat, cold liquid helps keep the fat cold, which is crucial for flakiness.
Leavening Agents
Baking powder is the primary leavener. Some recipes also include a small amount of baking soda, especially if using buttermilk, as it reacts with the acid for added lift. Using both can give you incredibly tall biscuits. Make sure your leavening agents are fresh! Old baking powder or soda won’t make your biscuits rise.
Salt and Sugar
A little salt enhances the flavor. A touch of sugar is optional but can add a hint of sweetness and help with browning.
The Standard Dutch Oven Biscuit Recipe
Here is a basic buttermilk biscuits Dutch oven recipe. This serves about 8-10 biscuits, depending on size.
Ingredients:
- 2 cups all-purpose flour
- 2 teaspoons baking powder
- 1/2 teaspoon baking soda (if using buttermilk)
- 1 teaspoon salt
- 1/2 cup (1 stick) very cold unsalted butter, cut into small cubes, or a mix of cold butter and lard/shortening
- 3/4 cup very cold buttermilk (or milk)
Equipment:
- Large mixing bowl
- Pastry blender, fork, or your fingers
- Measuring cups and spoons
- Dutch oven (preferably 10-inch or 12-inch)
- Lid for the Dutch oven
- Surface for shaping dough (lightly floured)
- Biscuit cutter or knife
Instructions:
- Mix Dry Stuff: Put flour, baking powder, baking soda (if using), and salt in a big bowl. Stir them together well.
- Cut in Fat: Add the cold butter (and/or lard/shortening) cubes to the bowl. Use a pastry blender, fork, or your clean fingers to mix the fat into the dry stuff. Work quickly. You want the mix to look like coarse crumbs, maybe with some pea-sized pieces of fat still visible. Don’t overmix! Those little pieces of fat are what make the biscuits flaky. This is key for cast iron biscuit baking.
- Add Liquid: Make a well in the middle of the dry mix. Pour in the cold buttermilk (or milk).
- Mix Wet and Dry: Gently stir with a fork or rubber spatula until just combined. The dough will be shaggy and sticky. Don’t mix too much. Overmixing makes tough biscuits.
- Turn Out Dough: Lightly flour a clean surface. Gently turn the sticky dough out onto the surface.
- Shape Dough: Pat or gently roll the dough until it is about 1/2 to 3/4 inch thick. Try not to work the dough too much. For layered biscuits, you can fold the dough over on itself 2-3 times before the final pat/roll. This helps create layers.
- Cut Biscuits: Use a biscuit cutter or a sharp knife to cut out circles or squares. For tall biscuits, push the cutter straight down without twisting. If you twist, you can seal the edges, which stops them from rising fully.
- Prep the Dutch Oven: Lightly grease the inside bottom and sides of your Dutch oven. You can use butter, shortening, or spray. Parchment paper can also be used to line the bottom for easy removal, but it’s not strictly needed if greased well.
- Place Biscuits: Carefully place the cut biscuits into the greased Dutch oven. Place them close together but not touching for softer sides, or slightly separated if you want crispier edges. Don’t stack them.
- Ready to Bake: Put the lid on the Dutch oven. Your biscuits are now ready for baking, whether in a kitchen oven or over coals for camp cooking biscuits.
Baking Biscuits at Home in Your Oven
Using your kitchen oven with a Dutch oven is simple and gives you consistent results.
Setting Up for Home Baking
Place the covered Dutch oven with biscuits inside into your cold oven. This lets the cast iron heat up with the oven, preventing the bottom from getting too hot too fast.
Oven Temperature
Preheat your oven to 425°F (220°C). The cast iron needs time to get hot and hold the heat.
Baking Time
Once the oven reaches temperature, bake the biscuits for about 15-25 minutes. Dutch oven biscuit cooking time can vary based on your oven and the size of your biscuits.
Checking for Doneness
Biscuits are done when they are golden brown on top and cooked through. You can carefully remove the lid for the last 5-10 minutes of baking to help the tops brown more if needed. Use a toothpick or thin knife inserted into the center of a biscuit; it should come out clean.
Serving
Carefully remove the hot Dutch oven from the oven using oven mitts. Lift the biscuits out gently and serve them warm with butter, jam, gravy, or honey.
Baking Biscuits While Camping
This is where the Dutch oven truly shines for camp cooking biscuits! Baking outdoors requires managing heat from coals.
Picking Your Heat Source
- Charcoal Briquettes: These are the most common and easiest to manage for camp baking. They provide consistent heat.
- Hardwood Coals: Coals from a campfire work, but managing their temperature is trickier as they burn down at different rates. Briquettes are recommended for beginners.
Figuring Out Coal Temperature
The key to successful camp cooking biscuits is getting the right coal temperature for Dutch oven biscuits. A general rule for baking at 350°F (175°C) in a Dutch oven is to use twice as many briquettes as the diameter of your Dutch oven minus two. For a 400°F (200°C) or 425°F (220°C) bake, you need more coals.
A simple method uses a ratio:
* For 350°F (175°C): Use about 1.5 times the number of coals as the Dutch oven diameter. Distribute 1/3 of the coals under the oven and 2/3 on the lid.
* For 400-425°F (200-220°C): Use about 2 times the number of coals as the Dutch oven diameter. Distribute 1/4 to 1/3 under and 3/4 to 2/3 on top.
Example for a 10-inch Dutch Oven:
* For 350°F: 10 * 1.5 = 15 coals total. About 5 under, 10 on the lid.
* For 400-425°F: 10 * 2 = 20 coals total. About 5-7 under, 13-15 on the lid.
Example for a 12-inch Dutch Oven:
* For 350°F: 12 * 1.5 = 18 coals total. About 6 under, 12 on the lid.
* For 400-425°F: 12 * 2 = 24 coals total. About 6-8 under, 16-18 on the lid.
These numbers are a starting point. Wind, outside temperature, and the quality of your coals can affect the heat. You might need to add fresh coals during baking.
Preparing the Coals
Light your charcoal briquettes in a chimney starter or on the ground until they are covered in gray ash. This takes about 15-20 minutes.
Setting Up Your Camp Oven
- Find a flat, clear spot away from tents and dry brush.
- Place a ring of coals (the bottom portion) where you plan to put the Dutch oven. Make the ring slightly smaller than the oven’s base.
- Carefully place the prepared Dutch oven with the biscuits onto the coals.
- Place the remaining coals evenly across the top of the Dutch oven lid. This creates even heat from above, crucial for browning the tops of the biscuits. This is managing the Dutch oven lid temperature via the coals.
Camp Baking Time
Dutch oven biscuit cooking time over coals is typically 20-30 minutes. It often takes a little longer than in a kitchen oven because the heat source might be less consistent.
Checking Progress Outdoors
After about 15 minutes, carefully lift the lid using a lid lifter or heavy-duty gloves. Important: Angle the lid away from you so hot ash doesn’t fall into the biscuits. Check if the biscuits are browning. If the tops are browning too fast, move some coals from the lid to underneath. If the bottoms are browning too fast (or burning), remove some coals from underneath and add more to the lid.
Continue baking, checking every 5-10 minutes, until the biscuits are golden brown and cooked through.
Serving Camp Biscuits
Once done, carefully remove the coals from the lid (scrape them off) and remove the Dutch oven from the bottom coals. Lift the biscuits out and enjoy hot!
Deciphering Key Techniques for Perfect Biscuits
Mastering a few simple techniques ensures flaky, tender biscuits every time you bake using cast iron biscuit baking.
Keeping Everything Cold
This is maybe the most important rule. Cold fat cut into the flour melts slowly during baking, creating steam that puffs up layers. Warm fat just mixes in and makes a cakey texture. Keep your butter (or lard/shortening) and liquid in the fridge until the last minute. Even your flour can be chilled if it’s a hot day, especially for camp cooking biscuits.
Cutting in the Fat Properly
Mixing the fat into the dry ingredients shouldn’t result in a smooth mixture. You want visible pieces of fat, from pea-sized down to coarse crumbs. These are the pockets that make the layers. Work quickly so the fat doesn’t warm up from your hands. A pastry blender is a great tool for this.
Handling the Dough Gently
Overmixing or overworking biscuit dough makes the gluten in the flour develop too much, resulting in tough biscuits. Mix until just combined. Turn the dough out gently. Pat or lightly roll, don’t knead like bread dough. Cut straight down with the cutter. Think gentle and minimal handling.
Folding for Layers (Optional but Recommended)
After mixing, pat the dough into a rectangle. Fold one third over the middle, then the other third over that (like folding a letter). Gently pat it down slightly. Repeat this process 2-3 times. Each fold creates more potential layers in your final biscuits.
Don’t Twist the Cutter
When cutting biscuits, push the cutter straight down firmly. Don’t twist it. Twisting seals the edges of the biscuit layers, which can prevent them from rising fully and separating into flaky layers during baking.
Variations on Your Dutch Oven Biscuit Recipe
Once you master the basic method, you can experiment with different ingredients and additions.
Buttermilk Biscuits Dutch Oven Style
The classic, as included in the recipe above. The tang of buttermilk adds flavor and works with leavening for great lift.
Lard Biscuits Dutch Oven Style
Using lard instead of or in addition to butter gives a very tender biscuit with a slightly different, often richer, flavor profile. Make sure it’s cold, rendered lard.
Cheddar and Herb Biscuits
Add about 1/2 cup grated sharp cheddar cheese and 1-2 tablespoons chopped fresh herbs (like chives, parsley, or rosemary) to the dry ingredients before cutting in the fat.
Sweet Biscuits
Add 1-2 tablespoons of sugar to the dry mix. You could also add a pinch of cinnamon. These are great with fruit or for dessert.
Whole Wheat Biscuits
Substitute up to half of the all-purpose flour with whole wheat flour. You might need a little more liquid as whole wheat absorbs more. Whole wheat tends to make a denser biscuit, so handle gently.
Troubleshooting Common Issues
Even with a great Dutch oven biscuit recipe, sometimes things don’t go exactly as planned. Here’s how to fix common problems:
Problem: Biscuits Didn’t Rise
- Possible Cause 1: Old baking powder or soda.
- Fix: Check the date on your leaveners. Test baking powder by putting a spoonful in hot water; it should fizz. Test baking soda by putting a spoonful in vinegar; it should fizz strongly. Get fresh leaveners if needed.
- Possible Cause 2: Overmixed dough.
- Fix: Handle the dough as little as possible. Mix wet and dry until just combined. Pat, don’t knead.
- Possible Cause 3: Fat wasn’t cold or melted before baking.
- Fix: Keep all ingredients cold. See “Keeping Everything Cold” section. Ensure your oven or coals are hot enough from the start.
- Possible Cause 4: Twisted the cutter.
- Fix: Push the biscuit cutter straight down without twisting.
Problem: Biscuits Are Tough
- Possible Cause 1: Overmixed or overworked dough.
- Fix: This is the most common reason. Develop less gluten by mixing minimally and handling gently.
- Possible Cause 2: Too much flour added while shaping.
- Fix: Use minimal flour on your surface. The dough should be a bit sticky.
Problem: Biscuits Burned on Bottom (Especially Camp Cooking)
- Possible Cause: Too many coals underneath, or coals too hot, or oven too hot.
- Fix: Adjust your coal distribution. For camp cooking biscuits, use fewer coals underneath and more on the lid. If using a kitchen oven, reduce the temperature slightly or try placing a baking sheet on the rack below the Dutch oven as a heat shield. Check coal temperature for Dutch oven biscuits setup carefully.
Problem: Biscuits Not Browned on Top (Especially Camp Cooking)
- Possible Cause: Not enough heat from above (on the lid).
- Fix: Add more hot coals to the lid of the Dutch oven. Ensure even distribution of coals on the lid for consistent Dutch oven lid temperature. In a kitchen oven, uncover for the last few minutes.
Maintaining Your Dutch Oven
Proper care of your cast iron is essential for successful cast iron biscuit baking and cooking anything else.
- Cleaning: After use, wash your Dutch oven with hot water. You can use a stiff brush or scraper. Avoid harsh soaps, especially on seasoned cast iron, though a little mild soap is generally okay if you re-season.
- Drying: Dry the Dutch oven completely immediately after washing. Use a towel, then place it over low heat (stove or coals) for a few minutes to make sure all moisture is gone. Rust is the enemy!
- Seasoning: After drying, apply a thin layer of cooking oil (like vegetable, canola, or flaxseed oil) to the inside and outside surfaces. Wipe off any excess. This oil polymerizes and creates the non-stick surface. For re-seasoning after washing, just heat the oiled pan gently until it smokes slightly, then let it cool. For a full re-seasoning, heat in an oven according to manufacturer instructions (usually upside down on a rack with a tray below to catch drips).
A well-seasoned Dutch oven is naturally non-stick and will make your Dutch oven biscuit recipe efforts much easier.
Bringing It All Together: A Baking Plan
Here’s a step-by-step summary to make your Dutch oven biscuit cooking time successful, whether at home or camping.
For Home Baking:
- Gather and chill all ingredients (flour, fat, liquid).
- Mix dry ingredients.
- Cut in cold fat until mixture looks like coarse crumbs.
- Add cold liquid and stir until just combined.
- Turn dough onto a lightly floured surface. Gently pat/fold and shape to desired thickness.
- Cut biscuits with a straight down push.
- Lightly grease Dutch oven and place biscuits inside.
- Place covered Dutch oven in a cold oven.
- Preheat oven to 425°F (220°C).
- Bake for 15-25 minutes, removing lid for the last few minutes if desired for browning.
- Check for doneness (golden brown, toothpick comes out clean).
- Carefully remove from oven and serve hot.
For Camp Baking (Camp Cooking Biscuits):
- Gather and chill all ingredients (keep a cooler handy!).
- Mix dry ingredients.
- Cut in cold fat until mixture looks like coarse crumbs.
- Add cold liquid and stir until just combined.
- Turn dough onto a lightly floured surface (or parchment paper). Gently pat/fold and shape to desired thickness.
- Cut biscuits with a straight down push.
- Lightly grease Dutch oven and place biscuits inside.
- Light and preheat charcoal briquettes until ash gray.
- Calculate and arrange the correct number of coals for your Dutch oven size and target temperature (400-425°F recommended). Place 1/4-1/3 of coals in a ring on the ground.
- Place prepared Dutch oven onto the bottom coals.
- Place remaining 3/4-2/3 of coals evenly on the lid (managing Dutch oven lid temperature).
- Bake for 20-30 minutes, checking periodically after 15 minutes. Adjust coal placement if bottoms or tops are browning too quickly/slowly.
- Check for doneness (golden brown, cooked through).
- Carefully remove coals from lid, remove Dutch oven from bottom coals, and serve hot.
Using a Dutch oven for biscuits provides a versatile and rewarding way to bake, bringing delicious, flaky results whether you’re by a campfire or in your kitchen. The cast iron biscuit baking method is simple once you understand the basics of heat control and gentle dough handling. Enjoy your homemade biscuits!
Frequently Asked Questions About Dutch Oven Biscuits
How many biscuits can I bake at once in a Dutch oven?
This depends on the size of your Dutch oven. A 10-inch Dutch oven usually fits 6-8 medium-sized biscuits. A 12-inch oven can fit 8-12 or more. Don’t crowd them too much, as they need space to rise.
Can I make biscuit dough ahead of time?
Yes, you can prepare the dough, cut the biscuits, and place them in the greased Dutch oven. Then, cover and refrigerate for a few hours before baking. For camp cooking biscuits, keep the ingredients very cold in a cooler and mix just before baking for best results.
What’s the best fat for flaky biscuits?
Very cold butter, lard, or a combination of both usually yields the flakiest biscuits. Shortening also works well, especially for camp baking as it’s less likely to soften.
How do I prevent the bottoms from burning when using coals?
Use fewer coals underneath the Dutch oven and more on the lid. Ensure the bottom coals are spread out evenly rather than piled directly in the center. Monitor the Dutch oven lid temperature via the coals on top, as this is where most of the heat for baking should come from for biscuits.
What is the ideal Dutch oven lid temperature for baking?
The lid temperature isn’t measured directly, but controlled by the number and placement of hot coals on top. You want enough coals on the lid (about 2/3 to 3/4 of the total) to provide the primary heat for baking and browning, mimicking a top heating element in an oven set to 400-425°F (200-220°C).
How long is the typical Dutch oven biscuit cooking time?
At home in a 425°F (220°C) oven, it’s usually 15-25 minutes. When camp cooking biscuits over coals, it often takes 20-30 minutes, depending on the consistency of your heat.
Can I use self-rising flour?
Yes, if using self-rising flour, omit the baking powder and salt from the recipe. You still need to cut in cold fat and add cold liquid. Use about 2 cups of self-rising flour and proceed with the rest of the steps.
Why are my camp biscuits not browning on top?
This means you don’t have enough hot coals on the lid of the Dutch oven. Add more hot coals and distribute them evenly across the lid to increase the Dutch oven lid temperature effectively for browning.