
Here are the complete steps on how to get live TV on Kodi, making it fast and easy.
Yes, you can definitely get live TV on Kodi. While watching free TV on Kodi is possible through some legal sources or services, it’s important to understand that the ability to stream live channels Kodi usually relies on installing specific tools or connecting to paid services. Kodi itself is a media player, not a source of content. It needs Kodi add-ons live TV or other configurations to display live streams. This guide will walk you through the main ways to install live TV Kodi and configure live TV Kodi.
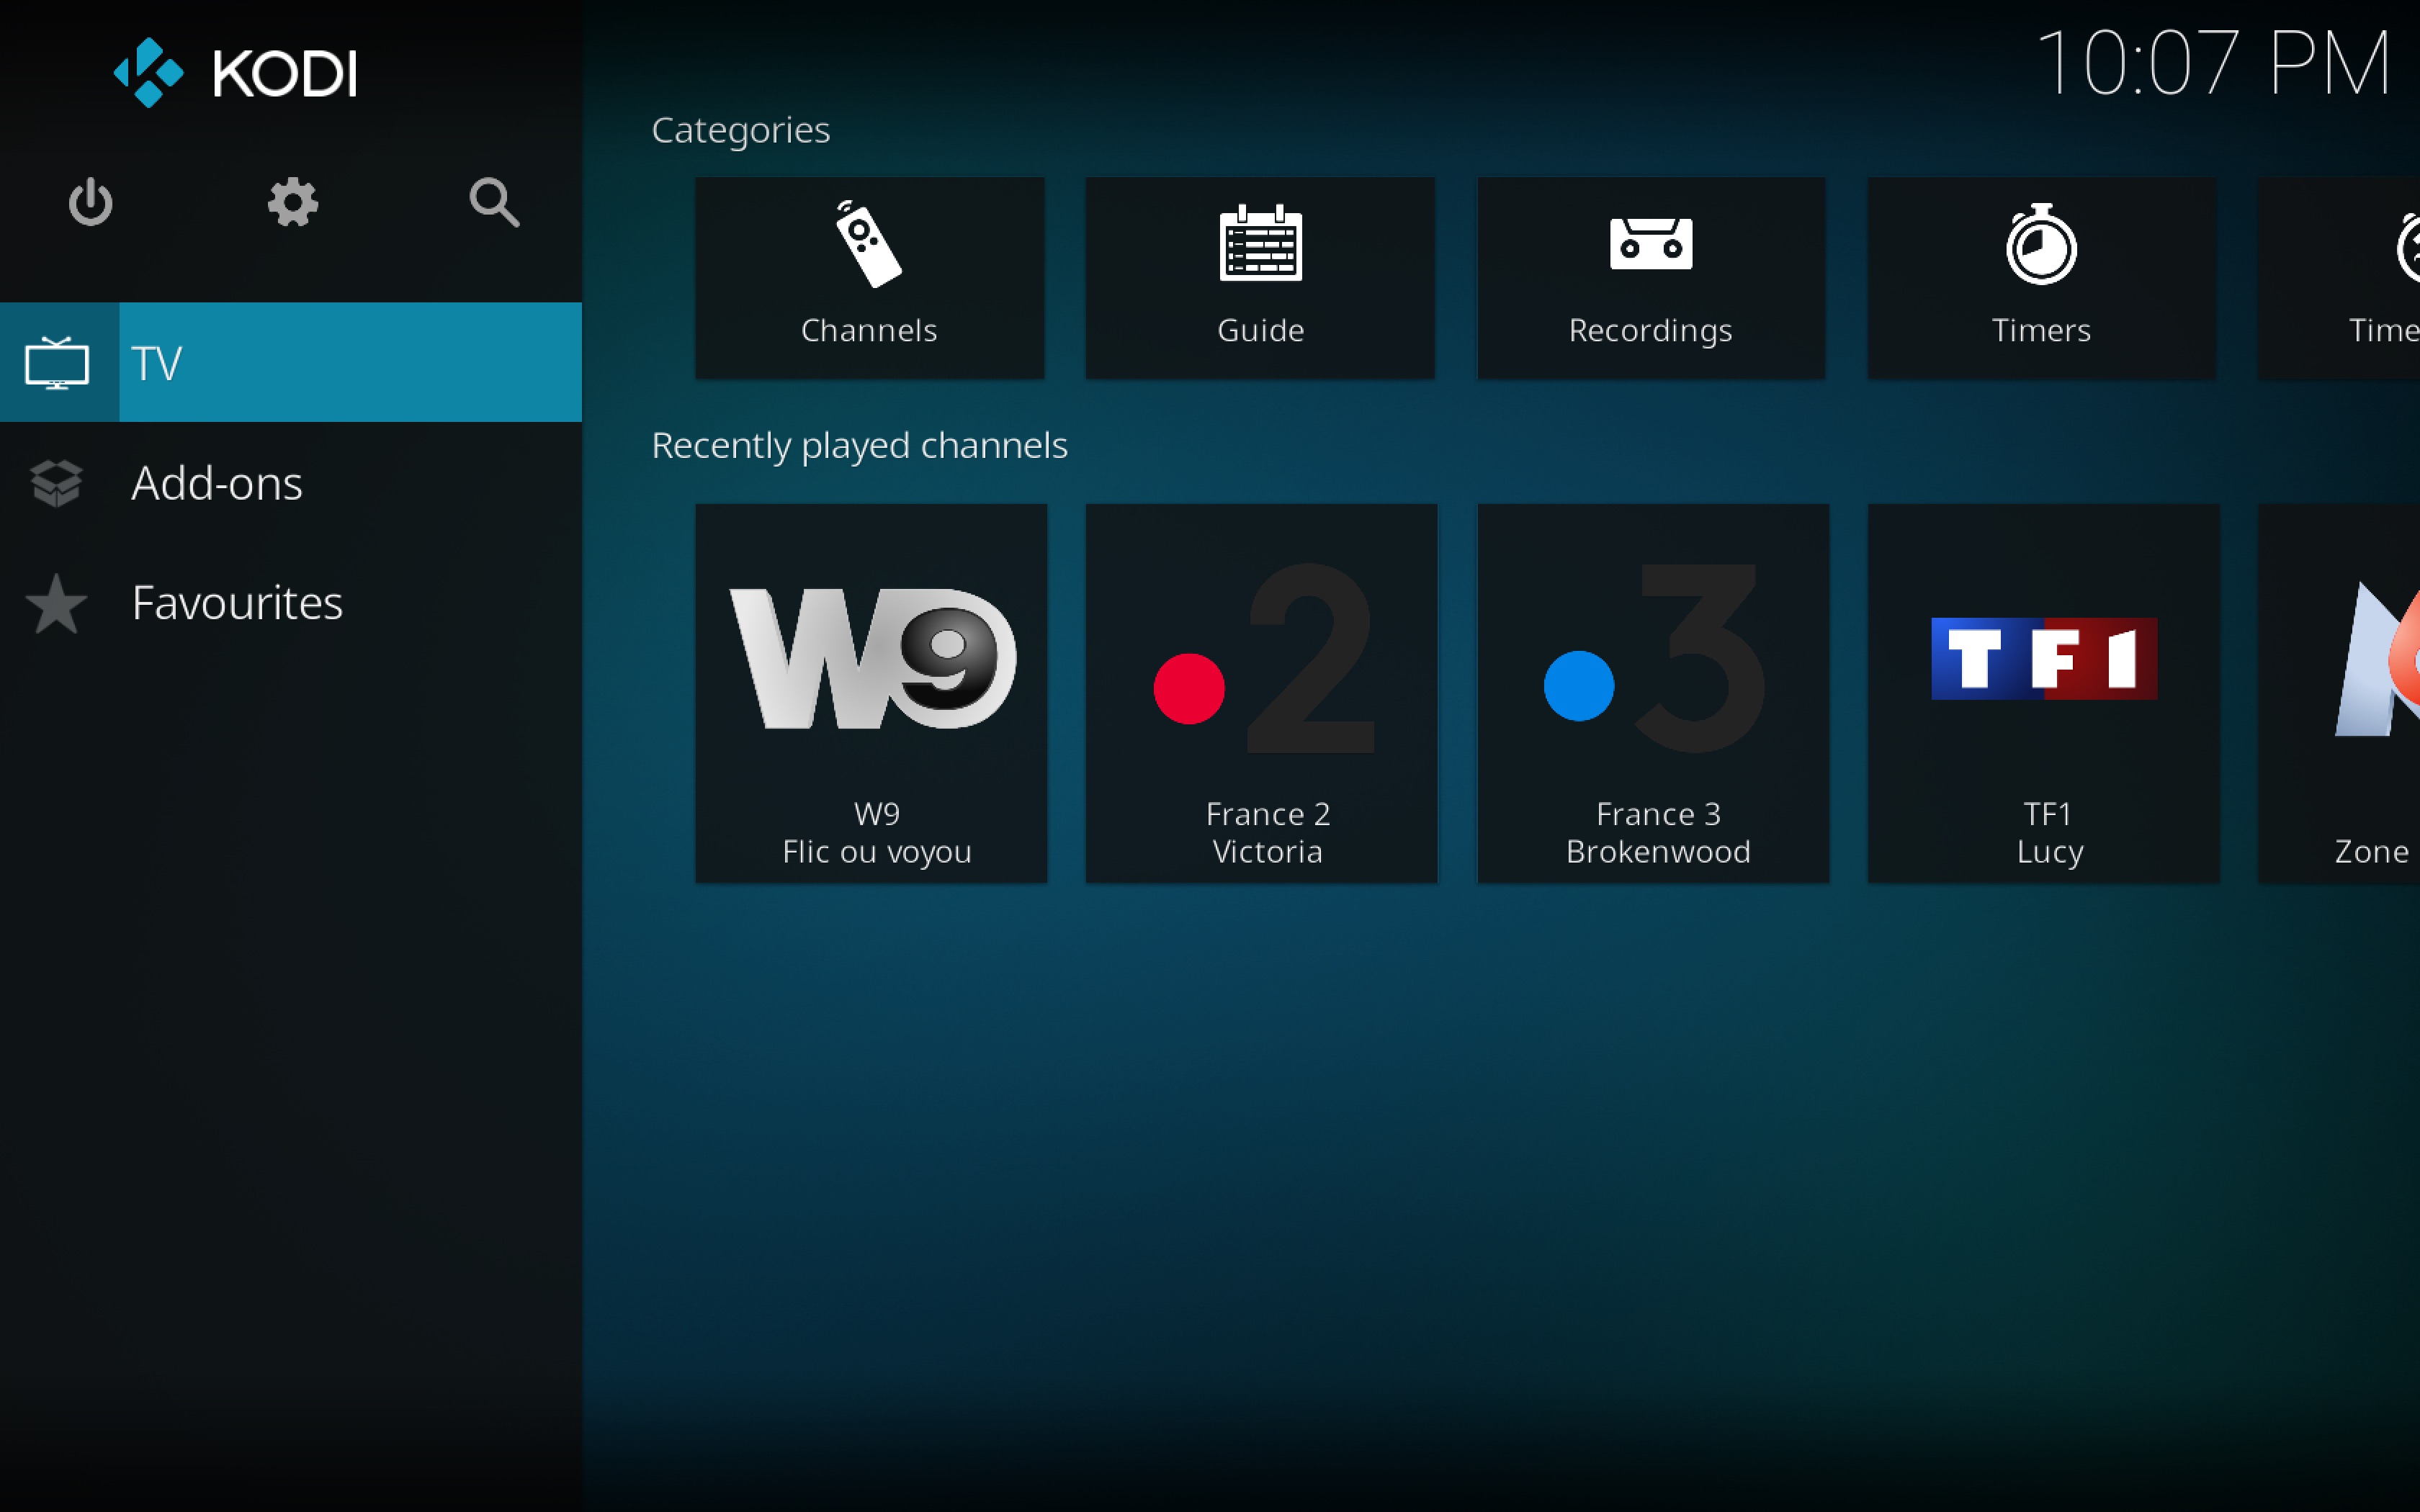
Image Source: catch-up-tv-and-more.github.io
Grasping the Basics: What Kodi Does
Kodi is free software. It acts as a media center. You can put it on many devices. Think of computers, phones, tablets, and media boxes like the Amazon Fire Stick or Android TV.
Kodi does not come with any content. It helps you play media you already have. This includes videos, music, and pictures. It also lets you use add-ons. These add-ons connect Kodi to online services or streams. This is how you can get live TV.
Ways to Get Live TV on Kodi
There are two main ways to get live TV on Kodi.
- Using Add-ons: Some add-ons connect directly to services that offer live TV. These can be official add-ons for legal services or add-ons for specific free streams.
- Using a PVR (Personal Video Recorder) Add-on: This is often used for
IPTV Kodi setup. You connect Kodi to anIPTVservice. IPTV means TV sent over the internet. This needs a source, like a paid subscription or a link to free channels. Kodi uses a special add-on, usually called aPVR client, to show these channels and aKodi live TV guide.
We will cover both methods. Using a PVR add-on with an IPTV source is often the best way for a stable and full live TV experience, especially if you use a paid service.
Getting Started: What You Need
Before you start, make sure you have a few things ready.
- Kodi Installed: Get the latest version from the official Kodi website (kodi.tv) or your device’s app store.
- Internet Connection: A stable and fast connection is key for smooth streaming.
- A Source for Live TV:
- For Add-ons: Know which add-on you want to install. Look for reliable ones.
- For PVR/IPTV: Have an M3U URL or a similar link from your IPTV provider. Some providers give you a user name and password instead. You might also need an EPG URL for the TV guide.
- Storage Space: Kodi and add-ons need a bit of space on your device.
- A VPN (Recommended): Using a VPN adds privacy. It can also help if your internet provider slows down video streams. This is very important if you are exploring sources where content origin is unclear.
Method 1: Using Kodi Add-ons for Live TV
Many Kodi add-ons live TV exist. Some connect to official services. Others pull streams from the internet. It is safest and best to use official add-ons or those for known legal services.
Exploring Add-ons and Sources
Finding good live TV sources for Kodi through add-ons takes some looking.
- Official Kodi Add-on Repository: This is built into Kodi. It has many safe add-ons. Look here first. Add-ons here often connect to free streaming services like Pluto TV or Tubi (availability varies by region and service).
- Third-Party Repositories: These are not part of Kodi. They host add-ons. Some offer access to many streams. Be careful with these. The content might not be legal. Add-ons might break often. Using unofficial sources can put you at risk.
- Specific Service Add-ons: If you pay for a streaming service that offers live TV, check if they have an official Kodi add-on.
Installing a Kodi Add-on (General Steps)
This shows how to install live TV Kodi add-ons from a repository. We will use the official Kodi repository as an example. This is the safest place to start.
h4: Allowing Unknown Sources (If Needed)
For add-ons not in the official Kodi repo, you must first allow “Unknown sources”. Skip this step if you only use the official repo.
h5: Steps to Allow Unknown Sources
- Open Kodi.
- Click the Settings gear icon (top left).
- Go to System.
- In the left menu, select Add-ons.
- On the right, find Unknown sources. Turn this setting On.
- Kodi will show a warning. Read it. Click Yes if you understand the risks and want to continue.
h4: Adding a Repository (If Not Official)
If your add-on is in a third-party repository, you need to add that repo’s source first. Skip this for the official Kodi repo.
h5: Steps to Add a Source
- Go back to the main Kodi Settings screen.
- Click File manager.
- Click Add source.
- Click
<None>. - Type the web address (URL) of the repository’s ZIP file source. Make sure it is correct. For example:
http://example.com/repo/(this is just an example, use the actual URL). Click OK. - Give this source a name in the box below. For example:
MyRepo. Click OK. - Click OK again to close the Add source box.
h4: Installing from a Repository
Now you install the add-on from the repository.
h5: Steps to Install from a Repo
- Go back to the main Kodi Settings screen.
- Click Add-ons.
- Click Install from zip file.
- If you used the File manager step above, click the source name you added (e.g.,
MyRepo). Find the repository ZIP file inside and click it. - If you skipped the File manager step and the repo is already on your device (like downloaded from a website), navigate to where you saved the ZIP file and click it.
- If you used the File manager step above, click the source name you added (e.g.,
- A message will appear when the repository is installed.
- Go back to the Add-ons screen.
- Click Install from repository.
- Select the repository you just installed (or the official Kodi Add-on repository).
- Browse through the folders. Look for Video add-ons.
- Find the
Kodi add-on live TVyou want to install (e.g., Pluto TV, or another service add-on). Click its name. - Click Install.
- Kodi might list other add-ons it needs to install with this one. Click OK.
- Wait for Kodi to download and install the add-on. You will see a message when it is done.
Using Your Live TV Add-on
h4: Steps to Stream Live Channels
- Go back to the main Kodi screen.
- Select Add-ons from the side menu.
- Select Video add-ons.
- Find and click the add-on you installed.
- Inside the add-on, look for sections like “Live TV,” “Channels,” or similar.
- Browse the list of channels or categories.
- Click the channel you want to watch. It should start playing.
Tips for Choosing Best Live TV Add-ons Kodi
What makes an add-on “best” depends on what you need.
- Reliability: Does it work most of the time?
- Speed: Does it load streams fast?
- Content: Does it have the channels you want?
- Quality: Is the picture clear (SD, HD, etc.)?
- Legality: Is it getting streams from a legal source? Official add-ons are safest here.
- Ease of Use: Is it easy to find channels and watch them?
For reliability and legality, sticking to add-ons from the official Kodi repository or add-ons for paid services you already use is recommended.
Method 2: Using PVR Add-ons for IPTV Setup
This method is often better for paid live TV sources for Kodi. It gives you a proper Kodi live TV guide and channel surfing like regular TV. This needs a PVR setup Kodi.
Grasping PVR and IPTV
- PVR: In Kodi, a PVR add-on acts like a TV tuner box. It receives the stream from your source.
- IPTV: This is your source. It is a way to send live TV over the internet. IPTV providers give you a link (like an M3U URL) or login details to access their channels.
The most common PVR add-on for IPTV Kodi setup is PVR IPTV Simple Client. It is free and included in the official Kodi repository.
What You Need for PVR Setup
- An IPTV Source: This is key. You need a way to access TV channels over the internet.
- Paid IPTV Service: Many companies offer subscriptions. They give you an M3U URL, a username/password, or a specific file.
- Legal Free Streams: Some public broadcasters or websites offer free, legal streams. These might provide an M3U URL. Finding reliable, free, legal M3U lists for major channels is difficult and often temporary.
- An M3U URL or File: This is a list of channel streams. PVR IPTV Simple Client uses this.
- An EPG URL (Optional but Recommended): EPG stands for Electronic Program Guide. This URL gives Kodi the channel names, numbers, and show times. It makes the
Kodi live TV guidework.
Installing PVR IPTV Simple Client
This add-on is in the official Kodi repository.
h4: Steps to Install PVR IPTV Simple Client
- Open Kodi.
- Click the Settings gear icon.
- Click Add-ons.
- Click Install from repository.
- Select Kodi Add-on repository.
- Click PVR clients.
- Find PVR IPTV Simple Client in the list and click it.
- Click Install.
- Kodi might list other add-ons it needs. Click OK.
- Wait for installation. You will see a message when done.
Configuring PVR IPTV Simple Client
This is where you tell Kodi where to get the live TV channels from. This is the core of configure live TV Kodi for IPTV.
h4: Steps to Configure PVR IPTV Simple Client
- After installing, click PVR IPTV Simple Client again from the PVR clients list.
- Click the Configure button.
- You will see a settings window.
- Go to the General tab.
- Look for M3U Playlist URL. Click on it.
- Carefully type or paste the M3U URL from your IPTV source. This link points to the list of channels. It often ends in
.m3uor.m3u8. Click OK.- Alternative: If your source gave you a local file, choose M3U Playlist Local Path and browse to the file on your device.
- (Optional but Recommended) Go to the EPG Settings tab.
- Look for XMLTV URL. Click on it.
- Carefully type or paste the EPG URL from your IPTV source. This link points to the TV guide data. It often ends in
.xmlor.gz. Click OK.- Alternative: If your source gave you a local EPG file, choose XMLTV Local Path and browse to the file.
- If your provider needs a username and password, go to the Proxy or Authentication tab if available, and enter them. Check your provider’s instructions.
- Click OK to save the settings.
- Kodi might tell you that the PVR client needs to be restarted. Click OK.
- Close Kodi completely and open it again. This is important for the PVR add-on to load the channels.
Using the Live TV Guide
Once Kodi restarts, the PVR add-on should load your channels and the guide data.
h4: Steps to Watch Live TV with PVR
- Open Kodi.
- Wait a moment. In the main menu, you should now see a TV option. If not, you might need to enable the “TV” section in Kodi’s settings (Settings > Interface > Skin > Configure skin > Enable TV).
- Click TV.
- Kodi will show you the
Kodi live TV guide(the EPG). You will see channels and what is playing. - Browse the guide. You can often filter by channel group.
- Click on a program or channel name in the guide.
- Click Watch to start streaming that channel.
Making the Guide Better (EPG Settings)
The EPG is what makes the PVR method feel like cable TV.
h4: Adjusting EPG Settings
You can go back into the Configure settings for PVR IPTV Simple Client anytime.
- Days to look ahead: You can set how many days of guide data Kodi loads. More days take longer to load.
- Refresh rate: How often Kodi checks for guide updates.
- Channel Logos: Some EPG sources include logos. If not, you might be able to add them manually if your source provides a logo pack or Kodi can sometimes find them based on channel name.
Comparing Add-ons vs. PVR
Here is a simple table to show the differences.
| Feature | Add-ons | PVR (IPTV Simple Client) |
|---|---|---|
| Setup | Install add-on, maybe add source. | Install add-on, configure with URL/file. |
| Source Needed | Add-on itself connects to source. | You need a separate M3U/EPG source (IPTV). |
| TV Guide (EPG) | Depends on the add-on, often basic list. | Dedicated guide with timelines (if EPG used). |
| Channel Surfing | Usually list-based browsing. | Feels more like traditional TV guide. |
| Reliability | Varies greatly by add-on. Unofficial sources can be unstable. | Depends on your IPTV source’s reliability. |
| Cost | Varies (free service add-ons, paid service add-ons). | Varies (free streams, paid subscriptions). |
| Legality | Varies. Safer with official/known legal sources. | Depends entirely on your IPTV source. |
| Best Use Case | Accessing specific free services, or official streaming app add-ons. | Paid IPTV subscriptions, managing a large channel list with a guide. |
For a full, reliable Kodi live TV guide experience with many channels, IPTV Kodi setup using a PVR client and a reliable source is usually preferred.
Important Things to Consider
Legality and Safety
This is the most important part. Kodi is legal software. How you use it makes it legal or not.
- Legal Sources: Using add-ons for services you subscribe to (like Sling TV, Hulu + Live TV, etc., if they have official Kodi add-ons) or add-ons for free, legal streaming services (like Pluto TV, Tubi) is generally fine. Using the PVR client with a paid, licensed IPTV service is also fine.
- Illegal Sources: Many unofficial add-ons or free M3U lists provide access to copyrighted content without permission. Using these is against the law in most places. It can lead to legal issues. It can also expose you to malware.
Be careful about where you get your add-ons and M3U links. Stick to trusted sources.
Using a VPN
A VPN (Virtual Private Network) is highly recommended when using Kodi for streaming, especially if you use any sources where the legality is not 100% clear.
h4: Why Use a VPN with Kodi?
- Privacy: It hides your online activity from your internet provider and others.
- Security: It encrypts your connection.
- Access: It can sometimes help access geo-restricted content (though this is not its main purpose with Kodi Live TV, especially for paid services).
- ISP Throttling: Some internet providers slow down streaming video. A VPN can help prevent this.
Choose a reputable VPN service. Install it on the device running Kodi before you start streaming.
Keeping Kodi and Add-ons Updated
Developers fix bugs and add features. Keep your Kodi app updated. Keep your PVR clients and add-ons updated too. This helps ensure things work smoothly and securely. Kodi usually checks for add-on updates automatically.
Troubleshooting Common Issues
Sometimes live TV does not work right on Kodi. Here are simple fixes for common problems.
h4: Live TV Menu Option Missing
- Did you install a PVR client? You need a PVR add-on like PVR IPTV Simple Client for the main TV menu to appear.
- Is the PVR client enabled? Go to Add-ons > My add-ons > PVR clients. Make sure your client says “Enabled”.
- Did you restart Kodi? After installing and configuring a PVR client, you MUST restart Kodi.
- Is the TV section hidden? Go to Settings > Interface > Skin > Configure skin. Find the option to show the TV menu item and turn it on.
h4: Channels Not Loading (PVR)
- Is the M3U URL correct? Double-check the address you typed in the PVR client settings. Even one wrong character stops it from working.
- Is your M3U source working? The link might be down or your IPTV provider might have issues. Check with your provider.
- Do you need a VPN? Some providers block certain types of traffic or locations.
- Are username/password needed? Check your provider’s instructions and enter them in the PVR client settings if required.
- Is your internet working? Simple check, but important.
h4: Channels Buffering or Lagging
- Internet Speed: Is your connection fast enough for streaming? Live TV needs good speed.
- Device Power: Is the device Kodi is on powerful enough? Older or low-power devices can struggle.
- Buffering Settings: Some add-ons or Kodi settings have caching options. Adjusting these might help, but it is technical.
- Source Issue: The problem might be with the source itself (the add-on stream or the IPTV server). Not much you can do about this except try another channel or source.
- VPN Speed: Some VPNs slow your connection. Try a different VPN server location or a different VPN service.
- Too Many Devices: Are other devices on your network using a lot of bandwidth?
h4: Guide (EPG) Not Working
- Is the EPG URL correct? Check the address in the PVR client settings. EPG URLs are often long.
- Is the EPG source working? The link might be down.
- Did it have time to load? Loading the EPG takes time, especially the first time or if it is a large file. Wait a few minutes after Kodi starts.
- Is the EPG enabled? Check the PVR client settings to make sure EPG is turned on.
h4: Add-on Not Working
- Is the add-on broken? Third-party add-ons often stop working if the source changes.
- Did you install it correctly? Try uninstalling and installing again.
- Is the repository online? If you installed from a third-party repo, the repo might be down.
- Is Kodi updated? Sometimes add-ons need the latest Kodi version.
PVR Setup with a File Source
Instead of an M3U URL, some providers give you a file (e.g., playlist.m3u).
h4: Steps for Using a Local File Source
- Download the M3U file (and EPG file, if separate) to your device where Kodi is. Remember where you save it.
- Open Kodi.
- Go to Settings > Add-ons > My add-ons > PVR clients > PVR IPTV Simple Client > Configure.
- In the General tab, choose M3U Playlist Local Path.
- Click the box next to it and browse your device’s folders to find the
.m3ufile you saved. Select it. - In the EPG Settings tab, choose XMLTV Local Path.
- Click the box next to it and browse to find the EPG file (
.xmlor.gz) if you have one. Select it. - Click OK to save.
- Restart Kodi.
This method is good if your provider gives you files instead of URLs. It also works if you create your own M3U file from various free, legal streams you find.
Learning More About Live TV on Kodi
Getting live TV sources for Kodi and setting them up can seem complex at first. But the two main methods are fairly simple once you understand them.
- Add-ons: Quick way to access specific services.
- PVR Client: Best for a full TV experience with a guide, especially with a paid IPTV source.
Experiment with the official add-ons available in the Kodi repository first. If you explore IPTV, make sure you understand where your M3U source comes from and its legality.
Setting up the Kodi live TV guide via the EPG URL in the PVR client is what transforms the experience from a list of channels to something like traditional TV. It makes finding something to watch free TV on Kodi (if available legally) or via a paid service much easier.
Remember that the performance and availability of streams depend heavily on the source you use, not just Kodi itself. Stream live channels Kodi reliably requires a good source and a good internet connection.
Ready to Watch?
With the steps above, you should be able to install live TV Kodi and configure live TV Kodi using either add-ons or the PVR method. Whether you are looking for best live TV add-ons Kodi or setting up your IPTV Kodi setup, the core processes involve installing the right tool and telling Kodi where to find the channels. Enjoy exploring the world of live TV on your Kodi media center!
Frequently Asked Questions (FAQ)
h4: Is watching live TV on Kodi legal?
It depends entirely on the source you use. Using official add-ons for services you pay for, or add-ons for free, legal streaming sites, is legal. Using add-ons or IPTV sources that offer copyrighted content without permission is illegal.
h4: What is an M3U URL?
It is a web address that points to a list of media streams. In the context of Kodi and IPTV, it is a list of live TV channels that the PVR client can read.
h4: What is an EPG URL?
It is a web address that points to a file containing TV guide information (channel names, times, show titles, descriptions). PVR clients use this to show you the Kodi live TV guide.
h4: Do I need a paid subscription to get live TV on Kodi?
Not always. Some free, legal streaming services have Kodi add-ons. It is also possible to find free, legal M3U streams for public domain content or some broadcasters. However, reliable access to major live TV channels usually requires a paid subscription via an official service add-on or a paid IPTV provider.
h4: My channels are buffering a lot. What can I do?
Check your internet speed. Make sure no one else on your network is using a lot of bandwidth. If using a VPN, try a different server. The issue might also be with the source of the stream itself.
h4: The TV option does not show up after setting up PVR.
Make sure the PVR client is enabled in Add-ons > My add-ons > PVR clients. Restart Kodi completely. If it is still missing, check Kodi’s skin settings to make sure the TV menu item is not hidden.
h4: Can I record live TV on Kodi?
Yes, if your PVR backend supports it. PVR Simple Client does not support recording. You would need a different PVR backend that links Kodi to a recording device or service, like NextPVR, Plex Media Server, or similar, and then configure Kodi to connect to that backend. This is a more advanced PVR setup Kodi.
h4: Are the “best” add-ons always safe?
No. Many lists of “best” add-ons refer to unofficial sources that may offer illegal content or contain malware. The safest best live TV add-ons Kodi are those from the official Kodi repository or add-ons for legitimate paid services. Reliability often comes with legality.