
A rattling speaker can ruin your listening experience. But what causes speaker rattle? Often, it’s a loose component, vibration, or damage to the speaker itself. Can you fix it yourself? Yes, many speaker rattles are easy DIY repairs! This guide will walk you through diagnosing and fixing those annoying noises so you can enjoy clear, crisp audio again.
Speaker rattles are frustrating, transforming your favorite music or movie into an unpleasant cacophony. These unwanted noises can stem from a variety of sources, ranging from simple loose connections to more complex issues with the speaker’s internal components. Thankfully, you don’t always need a professional to get your sound back in order. With a few basic tools and this step-by-step guide, you can often identify the cause of speaker rattle and implement effective DIY solutions. We’ll cover everything from tightening a loose speaker cone to addressing cabinet resonance, providing you with the knowledge to achieve a rattling speaker fix.
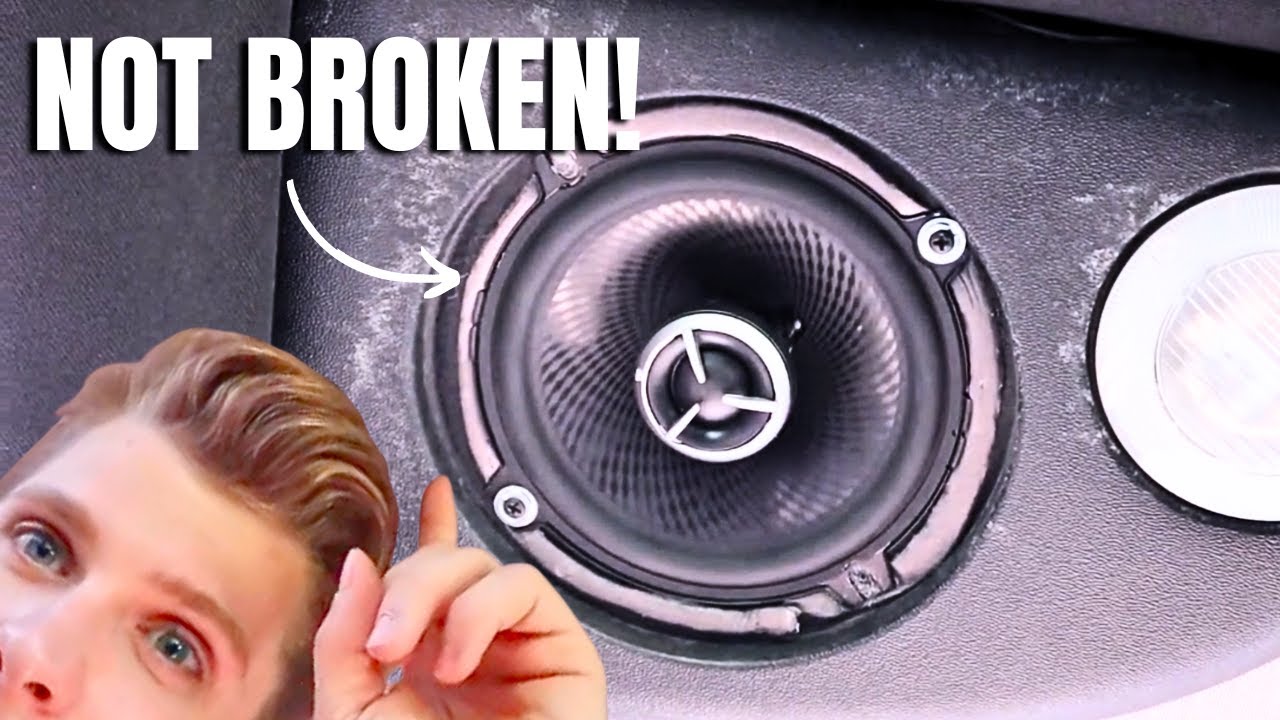
Image Source: i.ytimg.com
Locating the Source of the Sound
The first and most crucial step in any repair is pinpointing the exact source of the rattle. This might seem obvious, but sometimes the sound can be deceptive, seeming to come from one area when it’s actually originating elsewhere.
Listening Carefully
Play audio at a moderate volume, focusing on the specific frequencies or notes that seem to trigger the rattle.
* Identify the frequency range: Does it happen with bass-heavy music? Or maybe with vocals?
* Pinpoint the location: Is the rattle coming from the speaker itself, the speaker grille, the speaker enclosure, or somewhere else entirely?
* Check all speakers: If you have a multi-speaker system, test each one individually to isolate the problematic unit.
Visual Inspection
Once you have a general idea of the source, a thorough visual inspection is next.
* Remove the speaker grille: Most grilles are held on by clips, screws, or magnets. Be gentle to avoid damaging the grille or the speaker behind it.
* Examine the speaker cone: Look for any visible damage, tears, or obstructions. A loose speaker cone is a common culprit.
* Check the surrounding area: Look for anything that might be vibrating against the speaker or its enclosure. This could be anything from a loose piece of trim to a nearby object.
Common Causes of Speaker Rattle and Their Solutions
Now that you’ve hopefully narrowed down the source, let’s dive into the most frequent reasons for speaker rattles and how to fix them.
1. Loose Speaker Mounting Screws
This is perhaps the simplest and most common cause of speaker rattle. When the screws that hold the speaker unit to the enclosure loosen over time due to vibrations, the speaker can shift slightly, causing a rattle.
What to do:
- Tighten the screws: Using a screwdriver that fits the screws, gently tighten them.
- Don’t overtighten: You want them snug, not so tight that you strip the threads or crack the speaker frame or enclosure.
- Check all screws: Ensure all mounting screws are securely fastened.
Table: Screw Tightening Guide
| Screw Type | Driver Type | Tightening Tip |
|---|---|---|
| Phillips | + | Apply firm downward pressure to prevent cam-out. |
| Flathead | – | Ensure the driver perfectly fits the slot to avoid damage. |
| Torx | ★ | Use the correct size Torx driver for a secure grip. |
2. Loose Speaker Cone or Dust Cap
The speaker cone (also known as the diaphragm) is the part that moves to create sound. If it becomes loose from its support or the dust cap (the small dome in the center) is dislodged, it can cause a distinct rattle, especially at lower frequencies. A loose speaker cone means the cone isn’t moving true and can hit its limits.
What to do:
- Gentle Push Test: With the power off, gently press the center of the speaker cone. Does it feel loose or wobbly?
- Inspect the surround: The surround is the flexible ring that connects the cone to the speaker basket. Check for any tears or degradation. (More on damaged surrounds below).
- Dust Cap: If the dust cap is loose or partially detached, it might be vibrating against the voice coil.
- Glue: For a slightly loose dust cap, you might be able to carefully re-adhere it using a very small amount of white glue or a specialized speaker adhesive, applied with a toothpick. Be extremely sparing with the glue.
- Re-centering: If the cone itself feels misaligned, it might require professional attention, as it often means the voice coil is no longer perfectly centered within the magnetic gap. This can lead to significant speaker distortion.
3. Cabinet Resonance
Even well-built speaker enclosures can vibrate, especially at certain frequencies. This phenomenon, known as cabinet resonance, can make it sound like the speaker is rattling when the issue lies with the box itself.
What to do:
- Vibration Dampening: Apply vibration dampening materials to the inside walls of the speaker enclosure.
- Dynamat or similar products: These are sticky, flexible sheets that absorb vibrations. Cut them to size and stick them to the interior panels, avoiding any areas where they might interfere with the speaker’s operation.
- Foam or felt: Thick acoustic foam or dense felt can also be glued to the interior panels.
- Reinforce Bracing: If the enclosure feels flimsy, adding internal bracing can significantly reduce resonance. Small wooden dowels or strips of MDF can be glued in to create a more rigid structure.
- Check for Loose Panels: Ensure all panels of the speaker enclosure are securely fastened. Re-glue or screw any loose joints. This is a key part of speaker enclosure repair.
4. Damaged Speaker Surround
The speaker surround is the flexible rubber or foam ring that attaches the speaker cone to the speaker basket. If this surround tears, cracks, or separates, it will cause a terrible rattle and distortion. Speaker foam repair is a common DIY fix for this.
What to do:
- Inspect for Damage: Carefully examine the entire circumference of the surround. Look for any signs of:
- Tears or rips
- Cracking or drying out (especially common with foam surrounds)
- Separation from the cone or basket
- Speaker Foam Repair or Replacement:
- Repair Kits: For minor tears, specialized speaker surround repair kits are available. These typically include adhesive and sometimes replacement material. Follow the kit’s instructions carefully.
- Full Surround Replacement: For significant damage or degraded foam, you’ll need to replace the entire surround. This involves carefully removing the old surround, cleaning the cone and basket edges, and then applying the new surround with the appropriate adhesive. This is a more involved process but very achievable. Many online tutorials specifically address speaker foam repair for various speaker models.
5. Loose or Damaged Speaker Grille
Sometimes, the rattle isn’t from the speaker itself but from the protective grille.
What to do:
- Check Grille Fastenings: Ensure the grille is securely attached. If it uses clips, check for bent or broken clips. If it screws on, tighten those screws.
- Inspect the Grille Material: If the grille is made of a flexible material (like fabric stretched over a frame), check if the fabric has come loose or if the frame itself is damaged and vibrating. You might need to re-stretch and glue the fabric or repair the frame.
- Internal Grille Foam: Some grilles have a thin layer of foam behind them. If this foam is loose or deteriorated, it can rattle. You can often re-glue or replace this foam.
6. Internal Wiring or Components
Loose internal wiring, such as a wire touching the speaker cone or vibrating against another component, can create a buzzing or rattling sound.
What to do:
- Inspect Internally: With the speaker removed from its enclosure, carefully look inside.
- Secure Wires: Ensure all speaker wires are properly connected and insulated. Use zip ties or electrical tape to secure any loose wires so they don’t move and vibrate against parts of the speaker or enclosure.
- Check Crossover Components: If your speaker has a crossover (a circuit that splits frequencies to different drivers), ensure that components like capacitors or inductors are securely mounted and not rattling against anything.
7. Dirt or Debris
Occasionally, a small piece of dirt or debris can get lodged between the speaker cone and the speaker basket or inside the magnet structure. This can cause a persistent rattle, particularly as the cone moves.
What to do:
- Compressed Air: Gently use a can of compressed air to blow out any visible dust or debris from around the speaker cone and magnet.
- Soft Brush: A very soft brush (like a makeup brush or artist’s brush) can be used to gently dislodge stubborn debris.
- Avoid Poking: Never poke anything sharp into the speaker gap, as this can cause permanent damage.
8. Overpowering the Speaker
If you consistently play your speakers at volumes that exceed their capability, you can cause damage that results in rattling. This is a form of speaker distortion.
What to do:
- Reduce Volume: If the rattle only occurs at very high volumes, it might simply be that the speaker is being pushed beyond its limits. Try reducing the volume.
- Check Amplifier: Ensure your amplifier is properly matched to your speakers and isn’t clipping (sending a distorted signal). An overdriven amplifier can send damaging signals to speakers.
- Listen for Distortion: If you hear distortion along with the rattle, it’s a strong indicator you’re exceeding the speaker’s power handling.
Advanced Troubleshooting: When DIY Gets Tricky
While many rattles are simple fixes, some issues require more specialized knowledge or tools.
Re-foaming Woofers
As mentioned in the damaged surround section, re-foaming a woofer (the large speaker driver responsible for bass) is a common DIY task.
Process Overview:
- Purchase a Re-foam Kit: Make sure the kit is specifically designed for your speaker’s make and model or size and type.
- Remove Old Foam: Carefully peel or cut away the old, deteriorated foam surround. Clean both the cone edge and the basket edge meticulously with rubbing alcohol to remove all old glue residue.
- Apply New Surround:
- Shims: Many kits include paper shims to insert between the cone and the voice coil gap to ensure perfect centering. Insert these carefully.
- Adhesive: Apply the specialized adhesive to the speaker basket edge, then carefully place the new foam surround.
- Cone Edge: Once the basket adhesive is partially set, apply adhesive to the cone edge and attach the surround.
- Final Adhesion: Apply adhesive to the free edge of the surround and press it onto the cone.
- Cure Time: Allow the adhesive to cure completely as per the kit’s instructions before playing music.
This process can significantly extend the life of your speakers and is a rewarding DIY project.
Voice Coil Issues
If the voice coil, the cylindrical component that moves within the speaker magnet, becomes damaged or misaligned, it can cause a persistent rattle. This is more challenging to fix.
Signs of Voice Coil Problems:
- Rubbing or scraping sound even at low volumes.
- Distorted sound that doesn’t go away when tightening screws or dampening the cabinet.
- The cone visibly scraping against the magnet structure.
DIY vs. Professional:
- Minor Misalignment: In rare cases, if the voice coil has been slightly dislodged, it might be possible to carefully re-center it using the shim technique described in re-foaming. However, this is delicate work.
- Damage: If the voice coil is physically damaged (e.g., dented or torn), it generally requires professional repair or replacement of the entire speaker driver.
Speaker Enclosure Repair
Beyond resonance, speaker enclosures can develop other issues that cause rattling or affect sound quality.
Common Enclosure Problems:
- Loose Baffles: The baffle is the front panel where the speakers are mounted. If it’s not securely attached, it can vibrate.
- Port Issues: If your speaker has a bass reflex port (a hole or tube designed to enhance bass), ensure it’s clear and not loose.
- Internal Dampening Material: Speakers often have acoustic dampening material (like polyfill or foam) inside. If this material has become dislodged, it can sometimes flap or vibrate.
Speaker Enclosure Repair Steps:
- Check Baffle Attachment: Ensure the baffle is firmly attached to the rest of the cabinet. Re-glue or screw any loose joints.
- Inspect Ports: For ported enclosures, check that the port tube is secure and free of obstructions.
- Secure Internal Damping: If internal damping material is loose, you can carefully re-secure it with a few dabs of adhesive or ensure it’s packed snugly.
Prevention is Key
Once you’ve successfully fixed your speaker rattle, consider these preventative measures:
- Regular Inspection: Periodically check that speaker mounting screws are snug.
- Avoid Overdriving: Respect your speakers’ power handling limits.
- Proper Placement: Ensure speakers are on stable surfaces and not touching anything that could cause vibrations.
- Environment: Extreme temperatures or humidity can degrade speaker surrounds over time.
Frequently Asked Questions (FAQ)
Q: Can a rattling speaker damage my amplifier?
A: While a rattling speaker itself is unlikely to damage your amplifier, playing music so loud that it causes the speaker to rattle or distort can damage your amplifier. This happens when the amplifier is “clipping,” sending a distorted waveform to the speakers, which can overheat and damage the amplifier’s output stage.
Q: What is speaker distortion?
A: Speaker distortion occurs when the audio signal being sent to the speaker is altered or corrupted, resulting in an inaccurate reproduction of the original sound. This can manifest as crackling, buzzing, rattling, or a general loss of clarity. Common causes include overpowering the speaker, damage to speaker components (like the cone or voice coil), or cabinet resonance.
Q: How do I know if the rattle is from the speaker or the enclosure?
A: The best way to differentiate is by isolating the speaker. If you can remove the speaker from the enclosure and tap on the enclosure itself, or play a test tone while gently touching different parts of the enclosure, you can often identify cabinet resonance. If the rattle disappears when the speaker is removed, the issue is likely with the enclosure. If it persists or changes when you handle the speaker itself, it’s more likely a speaker component issue.
Q: Is it safe to use glue on my speakers?
A: Yes, but only with the correct type of glue and applied sparingly. For speaker foam repair or re-adhering a dust cap, specialized speaker adhesives (often a flexible, clear adhesive) are recommended. White craft glue can work for minor fixes if applied very thinly. Always avoid glues that dry hard and inflexible, as they can crack with the speaker’s movement. Never use super glue unless the repair kit specifically calls for it and provides instructions for its use.
Q: What is vibration dampening for speakers?
A: Vibration dampening involves adding materials to a speaker system (usually the enclosure) that absorb or dissipate unwanted vibrations. This helps to prevent cabinet resonance, where the speaker box itself vibrates and colors the sound, and can lead to a cleaner, more accurate audio output. Materials like Dynamat, butyl rubber mats, or dense acoustic foam are commonly used for this purpose.
By following these detailed steps and tips, you can effectively tackle most speaker rattle issues, restoring the pristine sound quality you expect from your audio equipment. Happy listening!